I've just been busy with mundane life stuff and not able to form thoughts into cohesive enough chunks to blog lately. Plus I haven't done anything really interesting, haven't made anything really interesting, haven't gone anywhere interesting. Or at least not interesting enough to blog about. I mean, if you the blog-reading public want a post on cleaning litter boxes or brushing teeth, I'd be happy to oblige, but I just don't think there's a reading audience for it. I may be wrong; feel free to correct me.
Anyhow, now that springtime has finally reached us here in Minnesota, I've been able to tackle a project I've been meaning to get done for a while, but I kinda needed to be outdoors to work on it. What project is that? Making over a small old dresser into a place to store our cold weather gear. (Currently we use an old lidded basket that is overwhelmingly too small for a family of 5. The cats enjoy using it to scratch their paws, so it's in fabulous shape, besides - if by fabulous you mean "falling apart at the seams.")
However, this thing

would make a great place to stash outerwear. It's been sitting in our garage for the last two years. Prior to that, it stored my husband's running gear in the basement of our old house. Prior to that, one of the kids used it for a dresser. I used it when I was a kid for a dresser, and when I asked my mom how old it was, she guessed that she got it in 1972, before I was even born.
Make no mistakes, this thing is old. It's shabby (and not in a shabby-chic kind of way). It's falling apart. The hardware has oxidized. And it wasn't even made out of high quality materials in the first place (particle board, staples, and glue for the most part).
But it was still useful, and rather than tossing it in the landfill, why not try to re-use it?
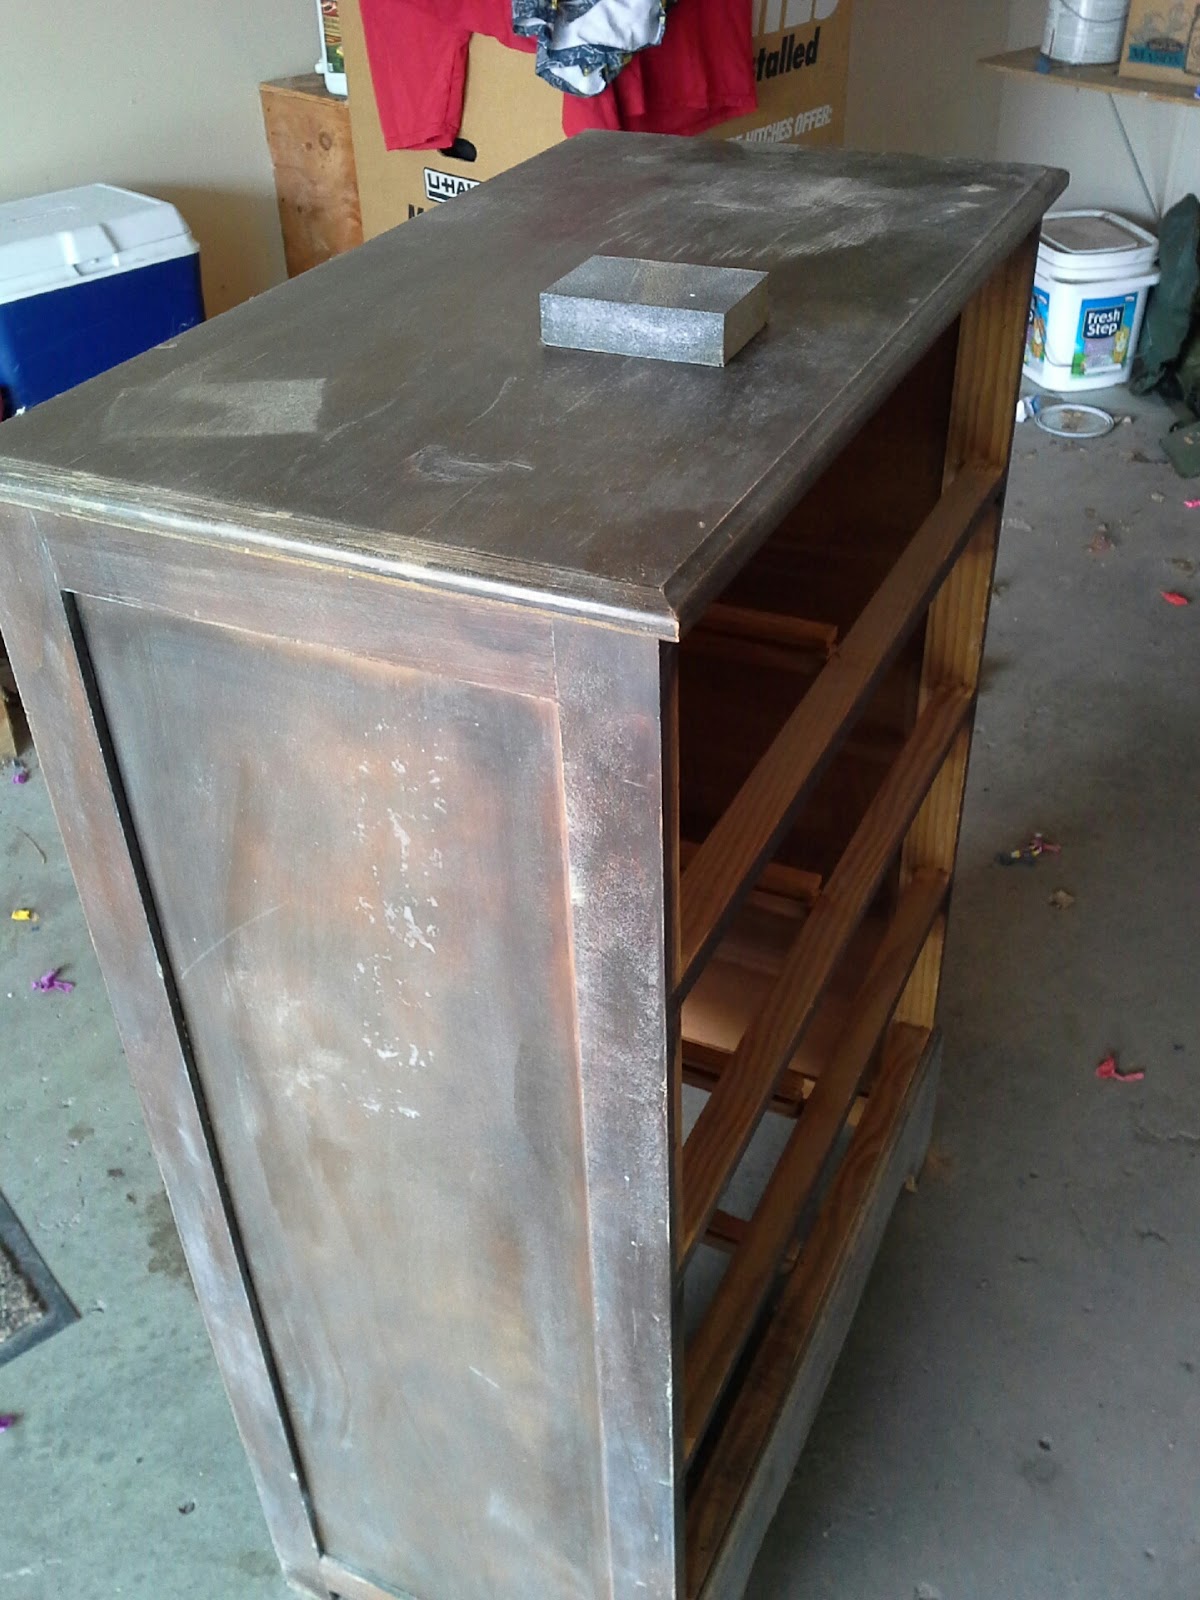
First I sanded down all the surfaces.
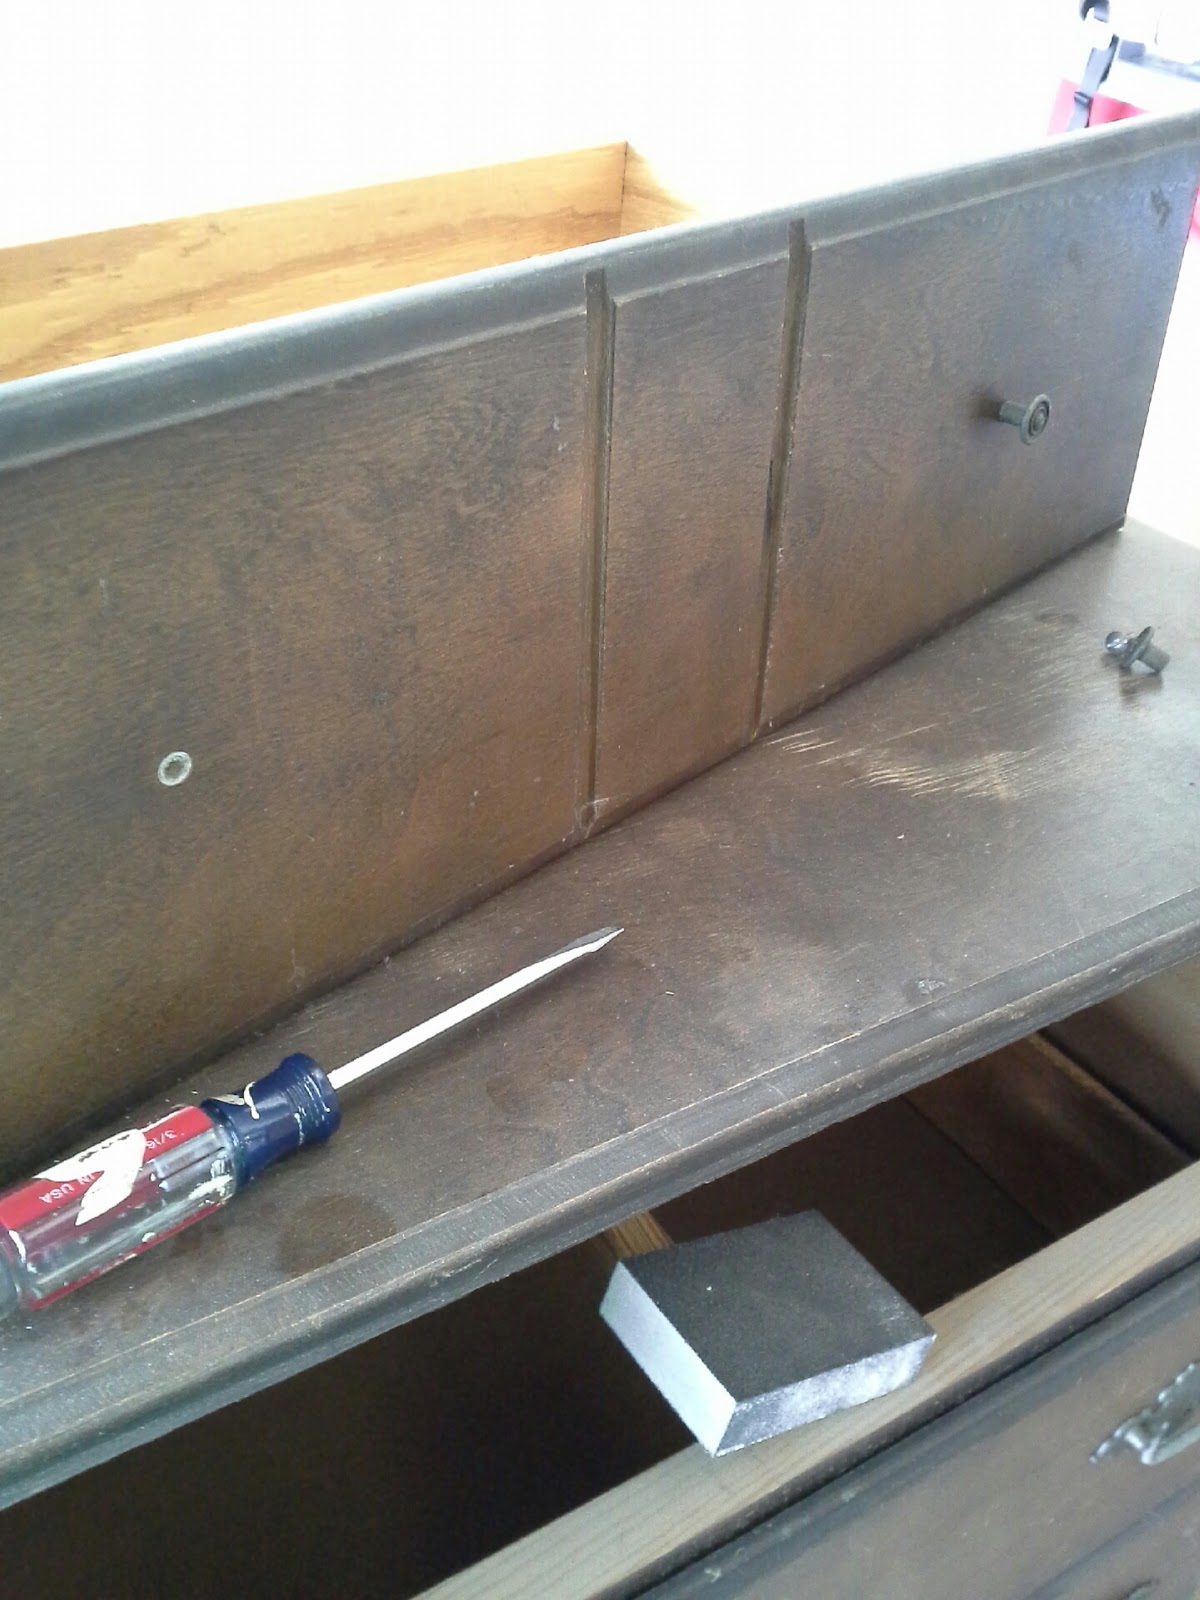
Removed the old, oxidized hardware. Because the new hardware I was installing (more on that later) didn't fit the holes from the old hardware, I filled the holes with wood putty, let it dry, then sanded.

I put the dresser up on kitty litter buckets to make it easier to paint. Speaking of making things easier to paint, if you're gonna do any spray painting, get yourself one of these:

That little trigger makes painting with spray paint so much easier. It just snaps on to the top of your spray can and away you go. It's reusable from can to can and only costs about $5.
I didn't take any pictures of the painting process, but it was pretty straightforward. Spray, let dry. Spray again, let dry. Done.
After the paint was dry, it was time to go to work on the new hardware. At our old house, we had our kitchen cabinets resurfaced to make them more appealing for the sale. We bought new fixtures, but never got around to installing them before we moved out. Then they got lost in a box for a good 9 months before being rediscovered. Unfortunately, that meant it was much too late to return them to the store. I wanted to use them in our new house's kitchen, but because the drawer pulls don't line up, I'd have to redo the cabinets in this house too. Just to install new hardware. No thanks. But now I've got a bag of hardware and no place to use it. Lightbulb moment.
Here's the new stuff:

Kinda old-world and yet updated.
Like I said, the new hardware wouldn't work in the old hardware holes, so this wasn't a simple swap, but having a drill handy meant that it wasn't too difficult either. In retrospect, I probably should have drilled the holes before I painted, but I was eager to paint. I'm lucky that the drilling didn't wreck the paint, but again, we're talking about a cheap-o makeover here. Buying another can of spray paint to fix an "oops" wouldn't have been a budget breaker.
So, dresser freshly painted, new hardware installed...we're done, right? Not quite. While digging for the drill, I found a can of chalkboard paint leftover from the previous owners. It was unused, but since it had been sitting in the garage for 2 years or more, I tested it on some scrap wood first to see if it was still of good quality. It was. I decided that I would turn the side panels of the dresser (again, particle board with a very cheap veneer - we're not talking high quality wood here, folks) into chalkboards for the kids.

I covered the painted surfaces of the dresser with newspaper and taped off the edges, then spray painted away. It took about 3 coats to get a nice, even finish. (Helpful hint: when you create a chalkboard with chalkboard paint, wait until the paint is completely dry (usually 24 hours), then cover the entire surface with a smooth covering of chalk, then erase it all, before drawing on it for the first time.)
Wanna see the finished project:?
Voila:

Decorated with kid artwork, less than an hour later:

Side-by-side comparison:

At the end of the day, it's not perfect. There's a few spots where I didn't apply paint evenly on the front, and there's a drawer pull that isn't level. But overall, I'm happy with how it turned out. It's plenty of well-hidden storage for our cold-weather gear, it's a nice surface just inside the door to on which to set things down, and it's added art space for the kids.